Brothers in automated production lines, the shop floor is too crowded to turn around?Horizontal paving guide rail accounted for half of the plant, the boss every day that the waste of space? Today, we will teach you the vertical installation of the masterpiece---Let the ring guide run vertically and just cut the 50% footprint!Don't think it's mystical, medical device manufacturers and pharmaceutical companies have been playing this trick for a long time.
First, vertical installation by virtue of what to save space?
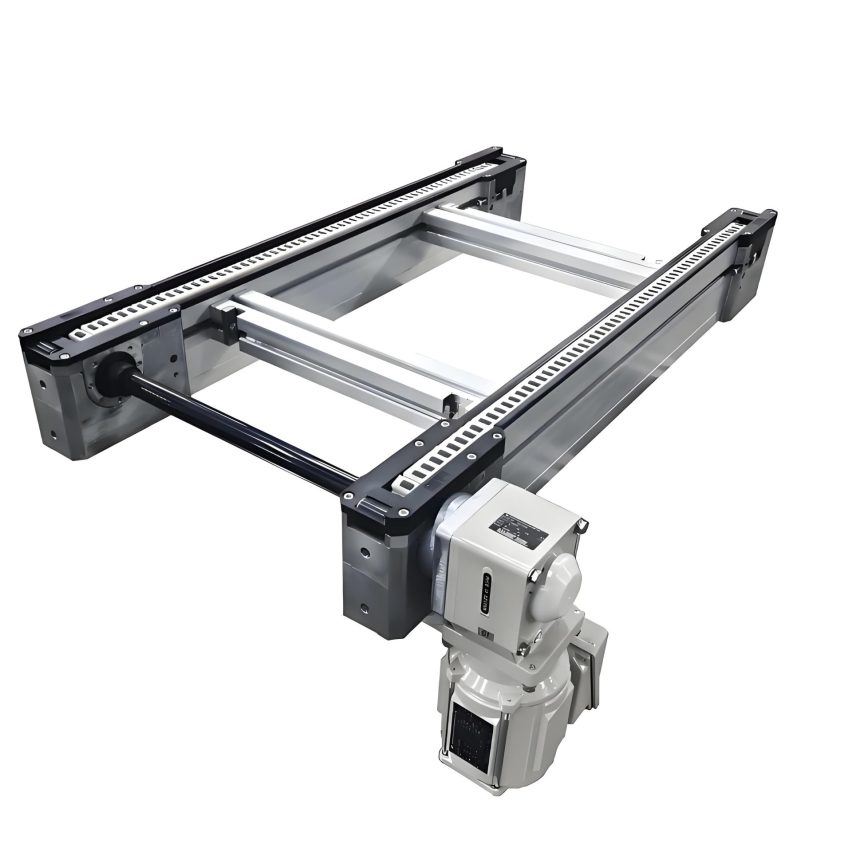
core principle: Hang the loop rail lying horizontally flat vertically on a wall/shelf and let the parts run up and down in a loop. It's like a double-decker bus turned into a Ferris wheel.Double the number of workstations in the same area!
▶️Actual data speak for itself.::
- Packaging line for a pharmaceutical company: horizontal installation occupies 50m2 → vertical double loop only 25m2
- 3C Inspection Workshop: save 60% floor, plug two more inspection lines
the art of draining space::
- Dead space utilisation: Corners, equipment gaps, and walls are turned into conveyor lanes.
- three-dimensional lamination: Parallel upper and lower double rails (see layout below)
make a copy of[roof] ↑ [Upper Rail] ←→Mechanical Arm Workstation ↓ [Lower Rail]←→Inspection Station ↑ [Ground Equipment]
Second, the hands-on installation tutorial (pit-avoidance version)
✅Step1: Wall/bracket pre-treatment - the foundation is not solid all for nothing!
- Load bearing check: ≈80kg per metre of rail + fully loaded slider, ordinary plasterboard wall? Tear it down before it's too late!Concrete wall + 10mm steel frameThat's the bottom line.
- Baseline surface treatment::
make a copy of
Horizontal installation: just grind the floor smooth → ❌ Vertical installation: wall verticality error ≤ 0.1mm/m! ✔️ (laser level calibration) [1,4](@ref)
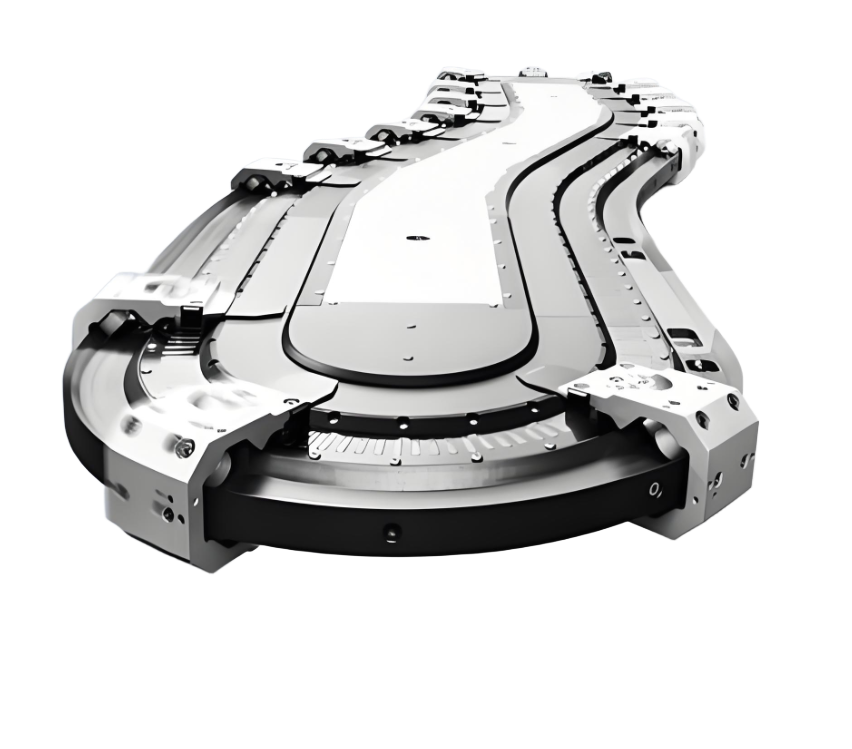
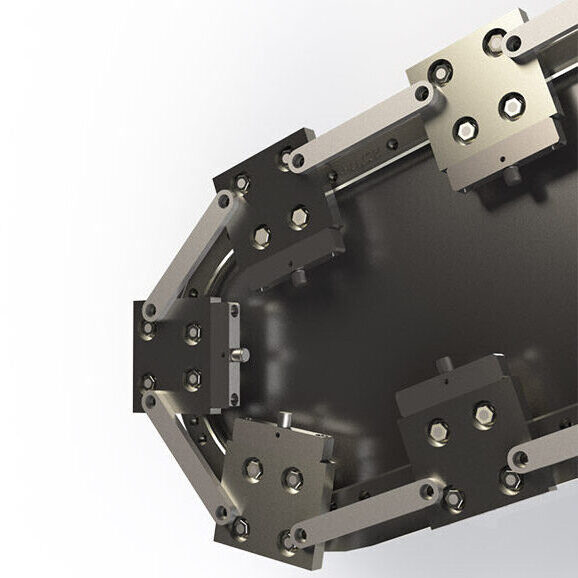
✅Step2: Guide rail splicing - Crooked 1mm whole section scrapped!
Vertical mounting exclusive tips::
- Install the bottom straight section first: Fixed with locating pins (1 pin in every 2 holes)
💥lesson learnt through blood and tears: A factory omitted the pins and after 3 months of operation the guides sunk 3mm!
- Arc Segment Fine Tuning Secrets::
- Top wire top up curved guide (don't exceed 0.5mm!)
- Plugging 0.02mm grade plug gauge to measure V-groove alignment
- Interface polishing: Oil-stone grinding of joints → Oil drop to test the smoothness of slider passage
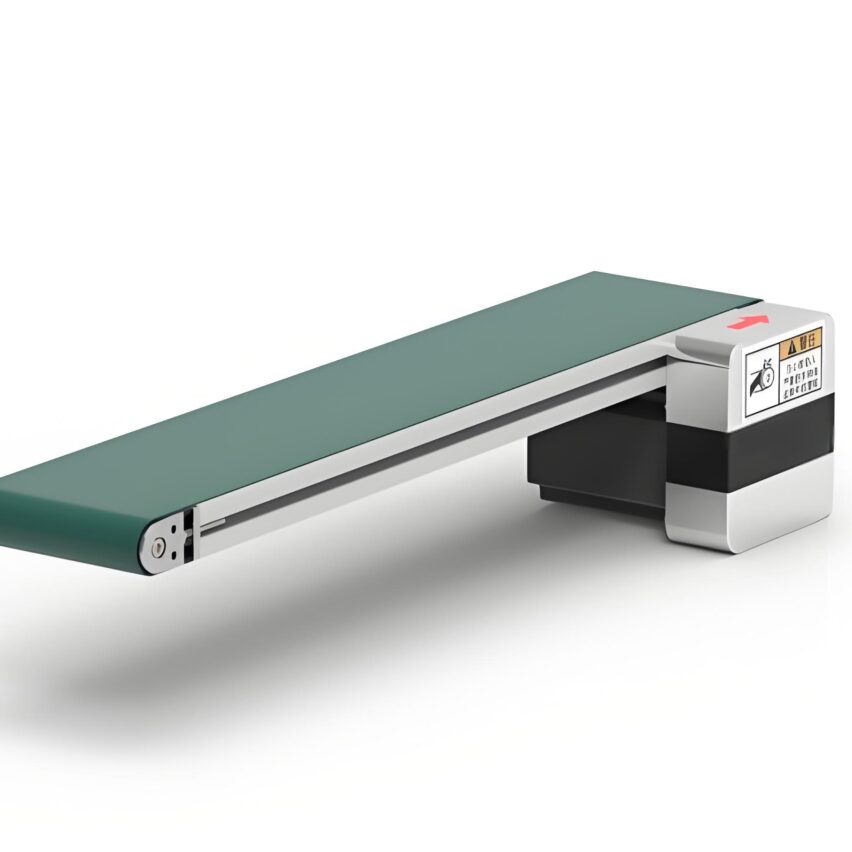
✅Step3: Slide Seat Inversion - Gravity is both an enemy and a helper!
difficulty: Sliders tend to sag under their own weight when mounted vertically! Cracking method:
make a copy ofConventional mounting method: insert the slider from the end of the guide → ❌ (it will fall out if it is mounted vertically)
Vertical loading secret:
  1. Increase the eccentric wheel spacing (put 0.3mm more clearance than horizontal) [6](@ref)
  2. The slider slides in through the side opening (lubrication block needs to be removed to prevent jamming).4](@ref)
  3. Put back the lubrication block and use NSF H1 grade food lubricant (anti-drip) [6](@ref)

III. Horizontal vs Vertical Installation Hardcore Comparison
| comparison term | Horizontal mounting | Vertical mounting |
|---|---|---|
| space occupation | 100% (baseline) | 50% or less! |
| Applicable floor height | not required | ≥ 4 metres (below don't fuck hard!) |
| load capacity | Supports 50kg+ heavy loads | ≤30kg (anti centre of gravity shift) |
| maintenance difficulty | within reach | Lifting platform required (cost ↑30%) |
| Best Scene | Heavy industry such as automobiles/appliances | Medical/3C/Pharmaceutical Packaging |
Fourth, the three major taboos of vertical space-saving
-
Greedy for heavy loads overturning::
📌 Case: a factory vertical shipment of 40kg motor → slider roller deformation, accuracy collapsed to ± 2mm!
unravel: Over 25kg load? Be a good boy and use horizontal mounting! -
Lubricate blindly::
- Ordinary butter → dripping contaminated product during vertical operation (drug companies have been fined $5 million!)
must: High adhesion synthetic grease (dropping point >180°C)
- Ordinary butter → dripping contaminated product during vertical operation (drug companies have been fined $5 million!)
-
preload force modulation::
make a copy of
Eccentric wheel preload force formula: Horizontal installation: rotation angle A Vertical mounting: Swivelling angle A x 0.7 (to compensate for the effect of gravity) [3,6](@ref)⚠️ Excessive preload → Guide wear accelerated by a factor of 3!
💎 Individual violence theory
Vertical ring guides are space savers and precision assassins!Don't listen to sales blowing "save the ground everything" - medical equipment can use it to save the ICU operating area, but if you engage in machine tool parts delivery, vertical mounting will only make the vibration over the standard, the yield plummeted!Remember the three golden rules::
- Floor height <4 metres? Standing installation is better than no installation at all!
- If the load is >25kg, immediately switch to the horizontal type!
- Saved site fees > maintenance costs? Close your eyes and flush! (Pharmaceutical company test: 2-year payback)
And finally, a hard statistic.: The chain life of a timing belt vertical system is cut right in half! Want to last five years? Change it before it's too late!Ceramic Plated Chain-- Spend $30,000 more and earn 8 more years.
(Workshop realist dry goods, dare to use it, dare to save! I'm not convinced to argue~)